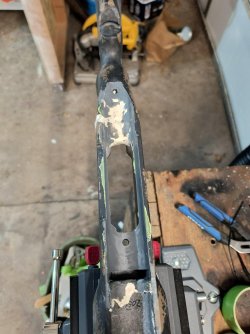
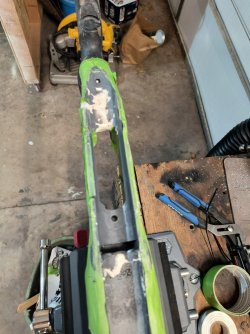
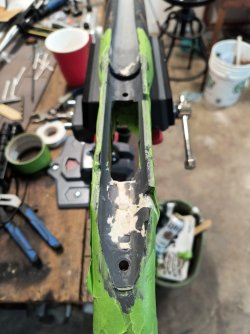
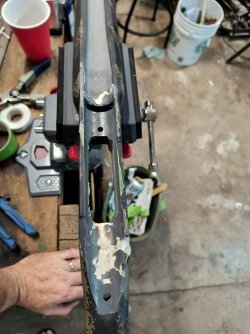
The only thing I don't care for is it has a lot of slop when you set the action in the stock, it is machined excellent and it fits very well, but the recoil lug area is very big. It is hard for me to describe, it worked fine unbedded, the groups were good, but I want to set my barreled action in the stock and not have it move sideways or rotate freely while I am trying to torque it down. At least now, when I set it in, it is level and I am not reaching for levels to put in the bolt raceway and top of picatinny rail. Sometimes, I would get a three shot group and have another shot stray out of the group. I am just trying to eliminate anything that could be an issue down the road and also, give myself some practice on bedding. By no means is this a sign of AG Composite stock not working. When you receive your stock you will understand what I mean when I mentioned the recoil lug area.